Cranberry Cheesecake
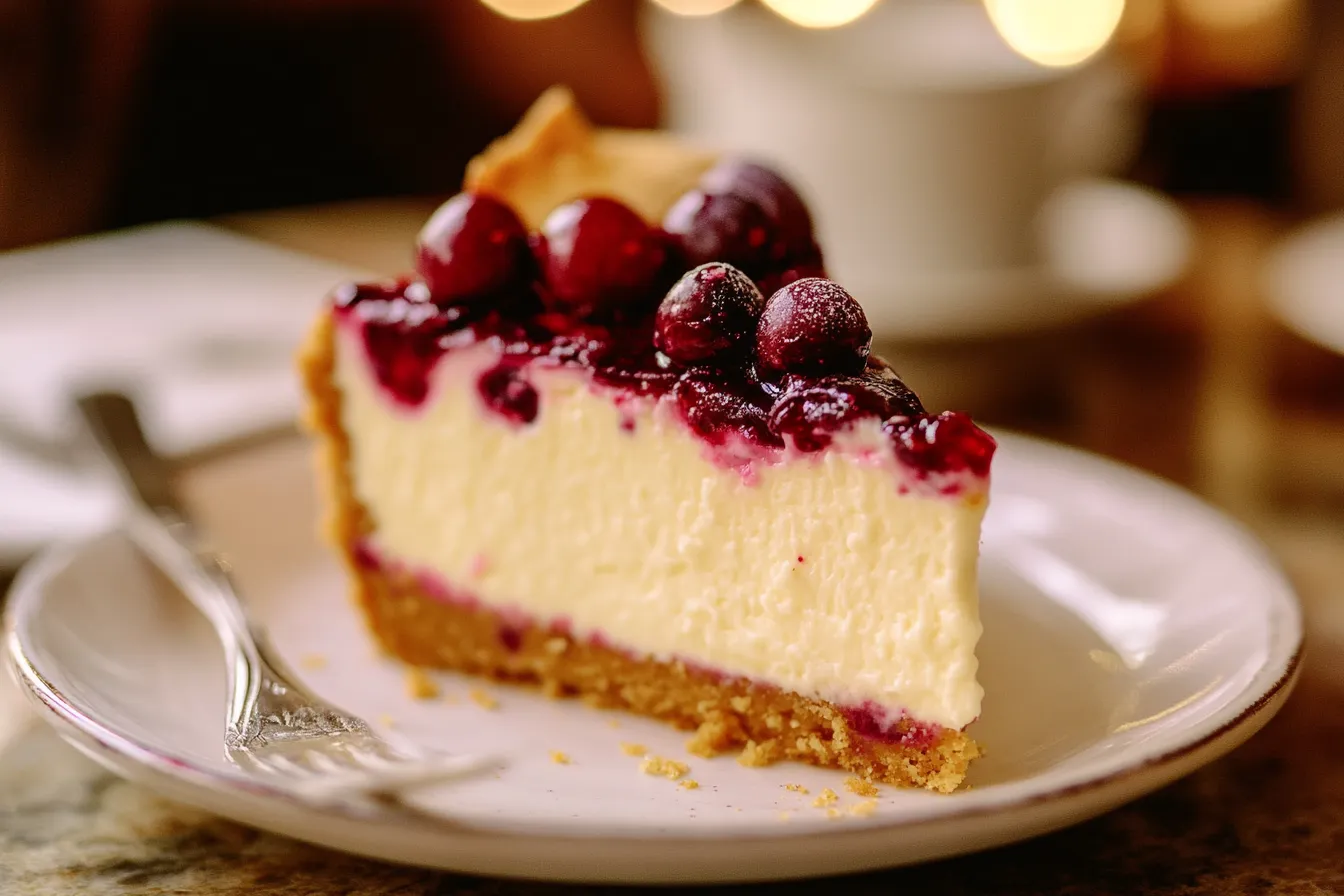
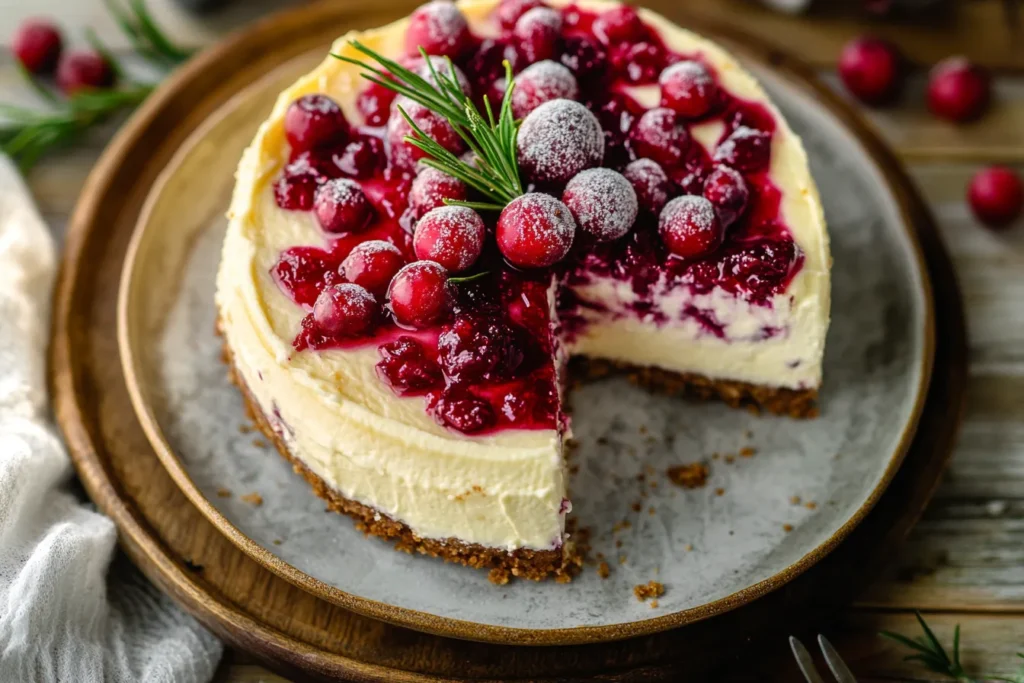
Cranberry Cheesecake isn’t just dessert; it’s a centerpiece. A creamy base, buttery crust, and tangy cranberry topping come together to create a treat that’s equal parts luxurious and comforting. Whether you’re hosting a holiday dinner or simply want to impress your family, this recipe is all you need to create a dessert that people will talk about long after their plates are clean.
In this guide, you’ll learn exactly how to make Cranberry Cheesecake from scratch. You’ll get pro tips, easy-to-follow steps, and practical advice to ensure your cheesecake turns out flawless every time. Let’s get started!
Table of Contents
Ingredients for the Perfect Cranberry Cheesecake
To make this Cranberry Cheesecake, you’ll need just a few simple ingredients divided into three components: crust, filling, and topping. Here’s a handy table for easy reference:
| Component | Ingredients | Quantity |
|---|---|---|
| Crust | Graham cracker crumbs | 1 ½ cups |
| Melted butter | ½ cup | |
| Sugar | 2 tbsp | |
| Filling | Cream cheese (softened) | 24 oz (3 packs) |
| Sugar | 1 cup | |
| Eggs | 3 large | |
| Vanilla extract | 1 tsp | |
| Topping | Fresh cranberries | 2 cups |
| Sugar | ½ cup | |
| Orange zest | 1 tsp | |
| Water | ¼ cup |
Pro Tip: Always use fresh, high-quality ingredients. Room-temperature cream cheese is a must for a smooth, creamy texture.
How to Make Cranberry Cheesecake: Step-by-Step Instructions
Step 1: Preparing the Crust
The foundation of any great cheesecake is the crust. A graham cracker crust provides the perfect balance of sweetness and crunch.
- Crush the crackers: Place the graham crackers in a zip-top bag and crush them using a rolling pin until they’re finely ground.
- Combine ingredients: Mix the crumbs with melted butter and sugar in a bowl until evenly coated. It should feel like wet sand.
- Press into pan: Spread the mixture evenly across the bottom of a springform pan. Use a flat-bottomed glass or measuring cup to press it firmly.
- Chill the crust: Place the pan in the fridge while you prepare the filling.
Pro Tip: For an extra flavor boost, add a pinch of cinnamon or nutmeg to the crust mixture.
Step 2: Making the Cheesecake Filling
Now it’s time to create that silky, creamy filling that everyone loves.
- Beat cream cheese and sugar: Use a hand or stand mixer to blend softened cream cheese and sugar until smooth.
- Add eggs one at a time: Beat in eggs one at a time on low speed to avoid overmixing, which can introduce air bubbles and cause cracks.
- Stir in vanilla: Add vanilla extract for a subtle, rich flavor.
- Pour over crust: Transfer the filling into the chilled crust, spreading it evenly.
Pro Tip: To ensure a smooth texture, scrape down the sides of the mixing bowl frequently.
Step 3: Making the Cranberry Topping
The topping is what makes this dessert a showstopper. Its vibrant red color and tangy-sweet flavor pair perfectly with the creamy cheesecake.
- Cook the cranberries: Combine fresh cranberries, sugar, orange zest, and water in a saucepan.
- Simmer until thickened: Heat over medium heat, stirring occasionally, until the cranberries burst and the sauce thickens (about 10 minutes).
- Cool completely: Let the mixture cool to room temperature before spreading it over the cheesecake.
Pro Tip: For a glossy finish, blend the topping and strain it through a sieve to remove seeds.
Step 4: Baking and Assembling the Cheesecake
Here’s where everything comes together.
- Preheat the oven: Set your oven to 325°F.
- Use a water bath: Place the cheesecake pan in a larger baking dish and add hot water until it reaches halfway up the sides of the pan. This helps prevent cracks.
- Bake: Bake for 60–70 minutes. The edges should be set, and the center should have a slight jiggle.
- Cool gradually: Turn off the oven and let the cheesecake cool inside with the door ajar for 30 minutes. This gradual cooling prevents cracks.
- Add topping: Once completely cooled, spread the cranberry topping evenly over the cheesecake.
Pro Tip: Refrigerate overnight for the best flavor and texture. Cheesecake is always better the next day!
Serving and Storage Tips
Your Cranberry Cheesecake is ready to serve, but presentation is key.
- Serving suggestions: Slice with a hot knife for clean edges and serve chilled. Add a dollop of whipped cream for an extra indulgence.
- Storage: Store in an airtight container in the refrigerator for up to five days. You can also freeze individual slices for up to two months.
Pro Tip: Garnish with fresh cranberries and orange zest for an elegant touch.
Why You’ll Love Cranberry Cheesecake
There are plenty of desserts to choose from, but this Cranberry Cheesecake stands out for good reason:
- The creamy cheesecake filling is perfectly balanced by the tart cranberry topping.
- It’s versatile enough for any occasion, from Thanksgiving to a simple family dinner.
- Making it from scratch lets you control the sweetness and quality, ensuring a dessert that’s truly unforgettable.
FAQs About Cranberry Cheesecake
Can I use frozen cranberries for the topping?
Yes! Frozen cranberries work just as well. No need to thaw them; just increase the cooking time slightly.
How do I keep my cheesecake from cracking?
Use a water bath, avoid overmixing, and let the cheesecake cool gradually in the oven.
Can I make this cheesecake ahead of time?
Absolutely. In fact, it tastes better after chilling overnight.
What can I use instead of a springform pan?
A deep pie dish can work, but the cheesecake will be harder to remove.
How do I know when the cheesecake is done?
The edges should be set, and the center should have a slight jiggle when you gently shake the pan.
Can I customize the topping?
Yes! Try mixing cranberries with raspberries or adding a splash of Grand Marnier for extra flavor.
Conclusion
Making a Cranberry Cheesecake from scratch may take a little effort, but the payoff is more than worth it. This stunning dessert combines rich, creamy textures with a bright, tangy topping that’s sure to impress anyone lucky enough to try it. So roll up your sleeves, gather your ingredients, and prepare to create a masterpiece. Trust me, you’ll be glad you did!

